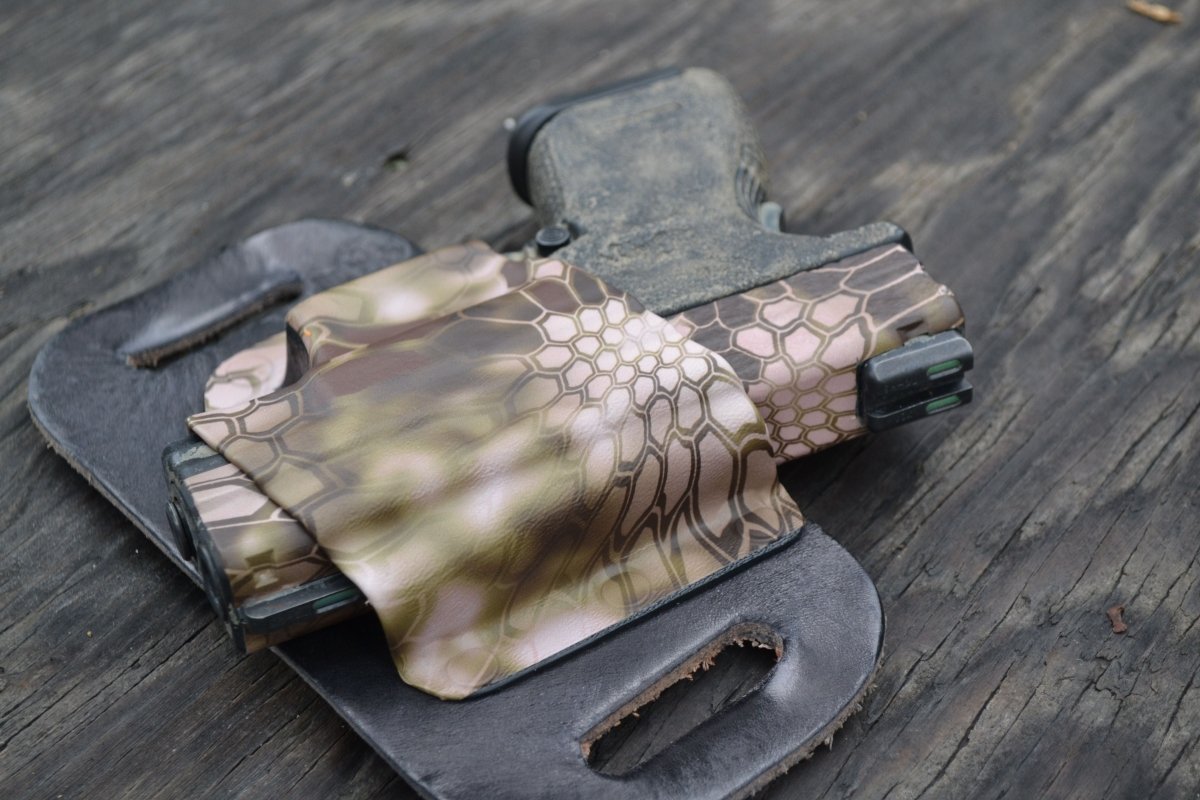
Any Gun Holster Can Be Customized With GunSkins

Your firearm is a powerful tool, whether it’s intended for concealability and self-defense, or hunting. It’s critical that the holsters you use to carry guns are reliable and easy to access, but it can also be more than that. Whether you want to customize it with camouflage to avoid being spotted during a hunting outing or represent your morals and patriotism with your pistol, adding a personal flair to your gunleather or plastic retention holster is an easy process with GunSkins.
What You’ll Need
-
Worksurface: To get started, make sure that you have a clean and stable work surface to apply your GunSkins to your holsters. A clean table will do. However, you’ll likely be doing some cutting so make sure you have somewhere for that as well.
-
Brush: One of the most critical steps when applying your GunSkins is to make sure that your everyday carry holster is completely clean and free of any dust or dirt. A good, small brush will ensure that you really clear every nook and cranny.
-
Cleaning product: To pair with your brush, find a good degreasing product to apply to your holster. Some newer products might have a bit more oil or grease on them for shine, so double-check that you’ve gotten rid of all of it and have a smooth surface.
-
GunSkins product of your choice: You can’t apply a GunSkins Sheet to your custom holster if you haven’t picked one out yet! Take a look at our inventory and find the perfect match for you.
-
Cloth: After brushing and applying your degreaser, you’re going to want to wipe off anything else that remains with a good, clean cloth or towel.
-
Exacto knife: Because the GunSkins come in the form of a sheet for you to apply to your custom gun holster, you’ll need a knife to cut it. We suggest using an Exacto knife as their small and extremely sharp blade will offer clean cuts and smooth precision.
- Heat source: GunSkins stretch and fit any product after being treated with some heat. Not the kind of heat you’d get walking in the sun or even firing a few rounds, though, so you’ll need something that gets hot. A heat gun or blow torch does great.
How to Apply The GunSkin to Your Holster
Applying a custom GunSkins Sheet to your holster takes a little time, but it’s an easy process with the proper tools. By following the steps listed below, you’ll have an amazing-looking and reliable cover on your holster in no time.
Clean
First things first, you need to clean your holster. GunSkins apply best when there isn’t any dust, dirt, grease, or grime clinging to your hard plastic holster, which accumulates pretty quickly with general use.
Take your degreaser and apply as directed, then take the brush and work through every surface of the holster. Pay attention to the details and clean off every area you might be applying your GunSkins product. After going through this process once or twice, wipe off any excess cleaner with the cloth so that you’ve got a clean and dry holster, ready to be customized.
Layout Your GunSkins
You’ll likely want to use the medium Gear Skin custom wrap for a holster, which comes as a 8-inch x 15-inch sheet. Layout the sheet and place your holster on top so that you can get a good idea of how much you need.
Cut an Appropriate Size Out For Your Holster
With your holster on top of the sheet, begin to cut out an appropriate amount to cover the holster. You’ll want a little extra room around the edges to work with, don’t worry, you can easily cut it off later.
Because GunSkins wrap is a heat stretch vinyl material, not a heat shrink, you won’t need too much extra room. But to anticipate any nooks or edges, better be safe than sorry and give yourself a little extra.
Heat and Apply
If your holster has detachable pieces like a belt clip, make sure to remove those first and apply a layer of GunSkins to them separately.
Otherwise, take your now cut-out piece of vinyl and hold it to the holster. Carefully heat the material and stretch it out over the holster. Work from one end and slowly heat and push it across. Make sure to smooth out any air bubbles along the way, and take your time.
Once you’ve gotten your GunSkins wrap completely on the surface of the holster, carefully trim off the excess around the edges with an Exacto knife. Always hold the blade away from you and slowly work around the corners. After doing this, it’s up to you whether or not you want to work on both sides or just one. If you’re just doing the front-facing side, you can move on; otherwise, rinse and repeat with the back.
Smooth Out and Finish
Using your heat source of choice, gently work through all of the edges and surfaces of the holster. You’re looking for any creases or unwanted air pockets. Gently heat and push them out with your fingers until you reach the perfect fit. Readjust if you need to, but at this point, you’re just putting the final touches on the final product.
Once you’ve completed this, you should have a fantastic-looking holster that not only looks amazing but is protected for a lifetime by the high-quality, water-proof vinyl wrap of your choice.
Sources:
5 Reasons You Need A Holster | Americas1stFreedom.org
4 tips on using an X-Acto knife without it ending in bloodshed | OffBeatHome.com
HOLSTER MAINTENANCE 101: HOW TO PROPERLY CLEAN YOUR HOLSTER | CrossBreedHolsters.com


0 comments