How to Remove a Gun or Gear Skin
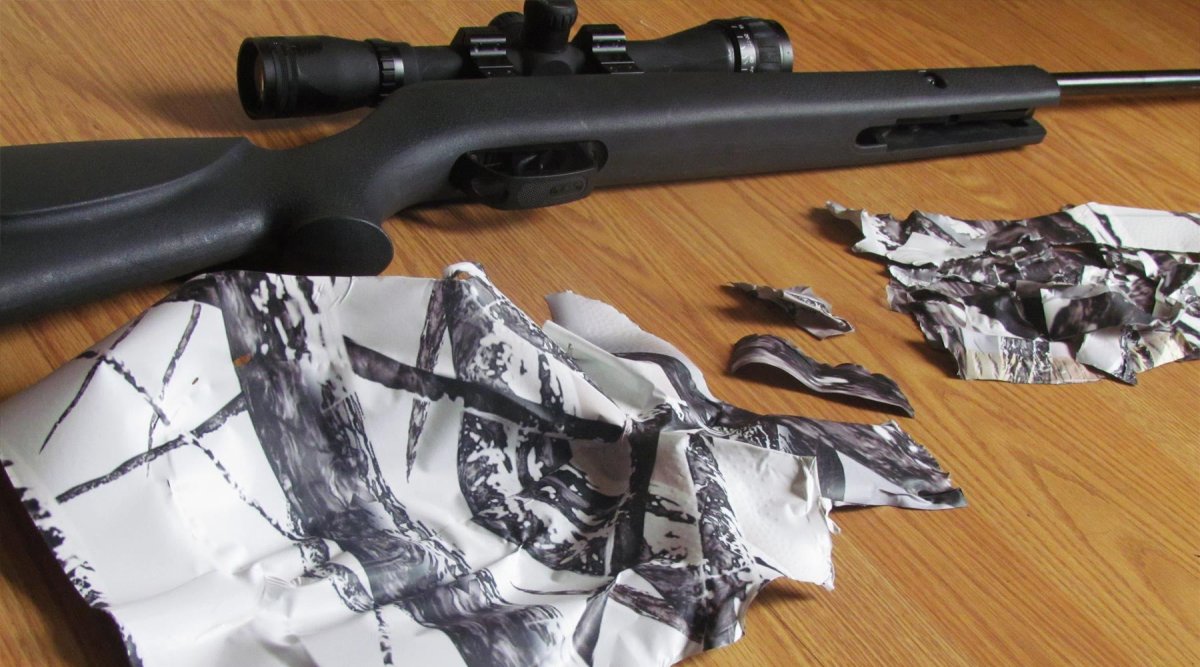
Versatility is one of the key advantages of our GunSkins protective wraps. They can be layered allowing you to adapt to the season or location for your concealment needs. They provide a protective water proof barrier that takes the beating of daily use. One of the greatest benefits that is unique to our product is the ability to remove the GunSkin without affecting the original surface of the item. Similar to our installation tutorial, removing a gun or gear skin requires some of the same tools, including a heat gun (or hair dryer) and a sharp hobby knife. Unlike other firearm coatings, there are no hazardous chemicals or bead blasting necessary to remove a GunSkin.

STEP BY STEP REMOVAL
1) HEAT.
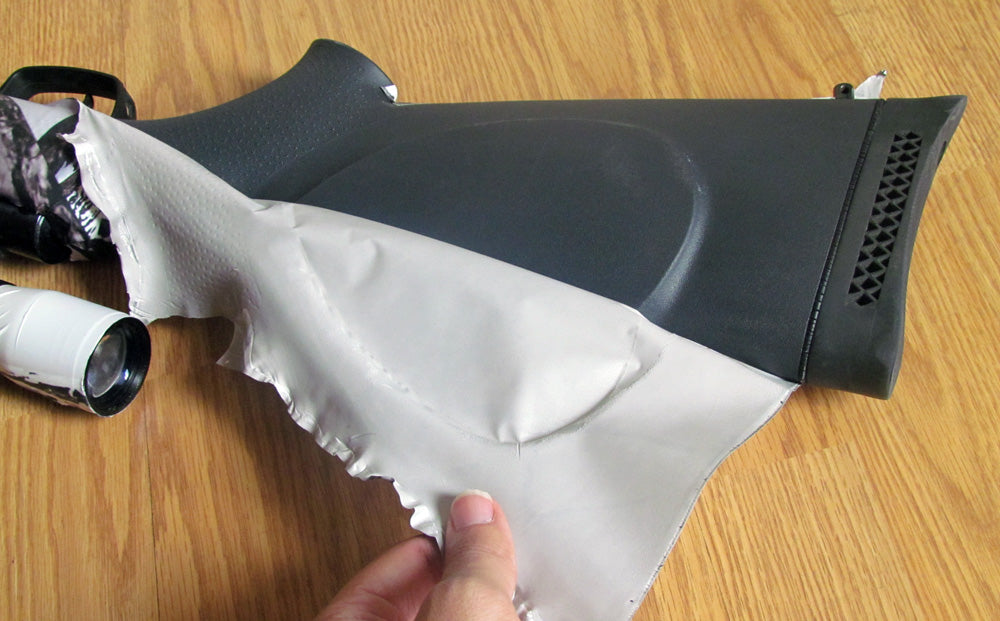
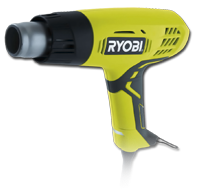 Just as applying heat to the skin is vital when installing a gun skin, it's equally as important when removing one. You see, heat makes the vinyl become flexible and stretchable. When pressed with your fingers, it holds well to corners and edges. When it cools down, it bonds. But if heat is applied again, the material will become soft again and this time instead of pressing down on it, you should peel it off.
2) PEEL OFF.
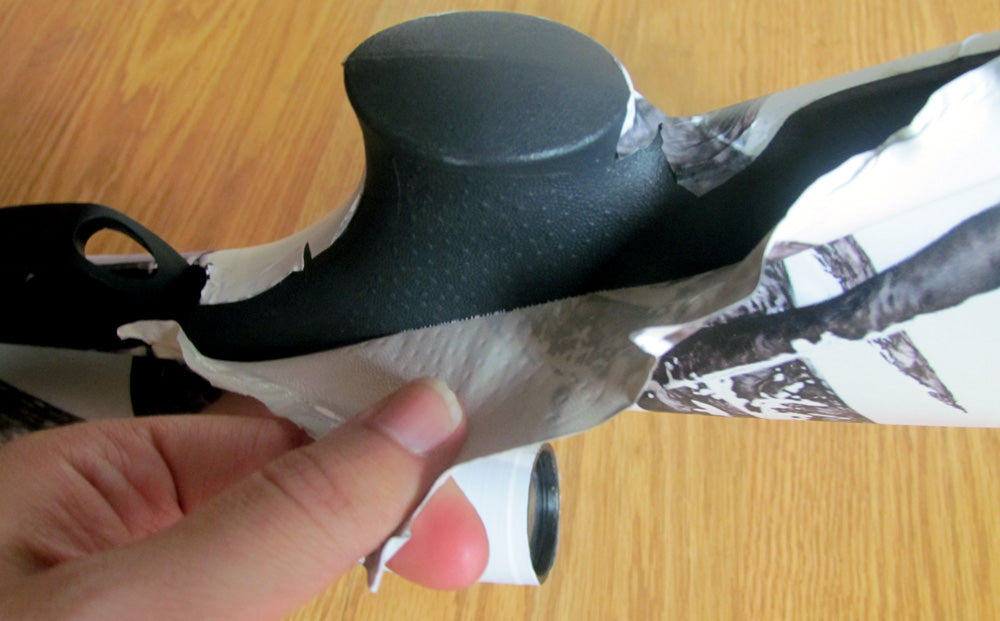
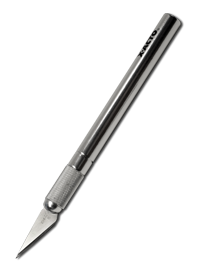 Once the material is warm, look for edge and begin to peel back. This is where the hobby knife will come in handy. Since the material is pressed firm against the surface, the sharp knife can be used to undermine the edge and create some lift. With enough material peeled, you can finish the job with your fingers. Chances are, the pieces will peel in the same shape as you laid them down in the first place. If too much heat is applied the vinyl can stretch and rip. This shouldn't be a problem because once removed, a GunSkins Kit should not be installed a second time.
3) REPEAT
Repeat the two steps above for every individual piece on the firearm. Simple kits such as the Mag or Scope Kits may be removed easily as they contain few pieces. AR-15 Kits contain many individual pre-cut pieces, all of which have to be removed one at a time. The entire procedure will take less time than the initial install.
OUT WITH THE OLD, IN WITH THE NEW
If your environment changes, it may be necessary to apply a new camouflage pattern to conceal to the new location. If you're feeling hardcore, you may even change your gun skin to match the seasons during the year. Others might want to swap skins because they fell in love with a different pattern or maybe we released the latest and greatest camo and they just have to try it out for themselves.
That's the beauty of GunSkins, they're easy to install and easy to remove. There is no danger of leaving them installed indefinitely, and there is no risk in removing them. No residue, no worries! If you haven't already experienced having your gun skinned, what do you have to lose?


4 comments
If there is residue left over, it can be safely removed using Goo Gone and/or rubbing alcohol.
I recently removed a gunskin from my glock pistol. The gunskin came off fine from the lower plastic piece of the gun WITH NO RESIDUE REMAINING. Although the gunskin on the metal rail left a horrible residue film on it. Any ideas how to safely remove this residue??
Nathan, If the material is pressed in but won’t adhere, it could be there is still some grease, oil, or residue that’s preventing the vinyl from holding on to the shape of the surface. AKs are especially prone to this.
Bubbles can be easily worked out. Poke it with a sharp knife, let the air out, heat, and press down again to seal it flat.
Hello Gunskins how are you? I got the Reaper Z skin for my AK-47 (love it) I’m having problems getting the skin to wrap around the rivets on the receiver. I would heat it up and press on it hard and use foam when applying it. It really brings out the detail of the rivets. But it won’t stay like that. After a few minutes the material will start to rise of the rivet and form a bubble around it.Any idea on how to fix that? Thank you for reading this.